Wiring Issues: Old or faulty wiring can hinder the performance, so call upon a professional to inspect it properly. Conclusion. Solar panel installation is the premier step towards achieving energy independence. By knowing how to
Even if you don''t do any harm, a smart solar panel wiring plan will optimize performance and maximize the return on your investment. Read on to find out more about solar panel connection diagrams and how to wire PV
(Source: Electrical Technology) By combining parallel and series connections in a hybrid wiring configuration, you can address issues like shade and high voltage to maximize your electricity output and performance..

Securing Mounting Brackets. The first step in fitting solar PV panels on a tiled roof is securing the mounting brackets. It is essential to do this without compromising the integrity of your roof structure. This involves cleaning the panels
Check the manual to find out. If in doubt, simply wire the solar panel, via a regulator, directly to the battery you''re looking to recharge. they need to be mounted about an inch above the roof panel on dedicated brackets

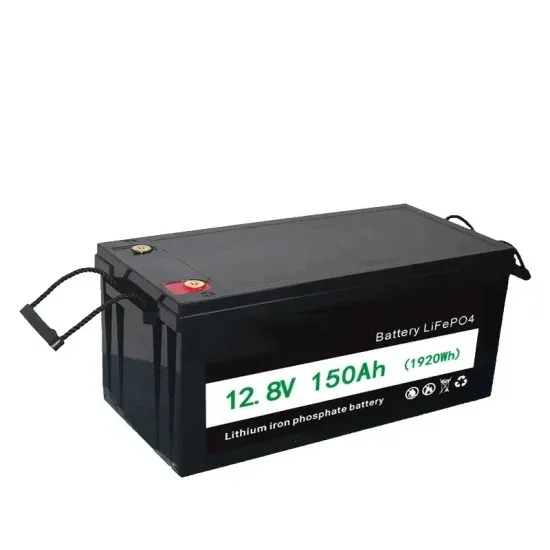
A solar panel is a grouping together of individual solar cells to produce an electric current. The electric current leaves the solar panel and goes through a solar regulator then into a battery. While you can run a 12V
The mounting system will vary depending on the type of roof, such as flat, pitched, or shingle roofs. Common mounting methods include roof attachments, roof hooks, or solar panel racking systems. The mounting

The first step is to attach the fixing bracket to the solar panel. Lay the solar panel face-down on the tarp or canvas to protect the photovoltaic surface. You want to be sure the mounting holes on the back of the panel
In the photo above, a ladder was used to slide the PV panels to the roof. Photovoltaic (PV) panels produce all of the electricity for this straw bale hybrid home from sunlight. All of the PV panels are permanently attached to the
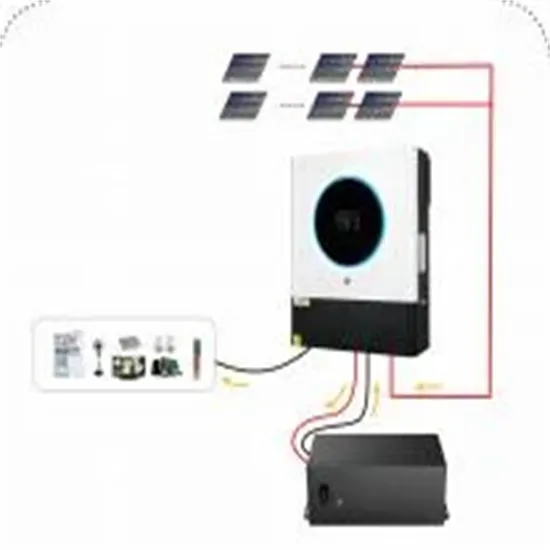
Prepare Solar Panels for Wiring: Attach the MC4 connectors to the solar panel cables. Ensure a proper connection and use the crimping tool to secure them in place. Connect the Solar Panels: Begin the wiring process by connecting the positive terminal of one solar panel to the negative terminal of the next panel.
The end brackets will have a spot to hold a single panel, and the middle brackets will have a spot to secure two panels. Some solar panel kits may use single panel brackets. The basic is to position the bracket to capture the panel and then tighten the bolt that clamps the bracket to the panel.
Solar panel brackets are just a nut and bolt attachment. They come in a variety of styles, and each is slightly different. Many slide onto the solar frame railings and then tighten to hold the panel in place. The end brackets will have a spot to hold a single panel, and the middle brackets will have a spot to secure two panels.
These terms form the backbone of solar panel wiring and assist in determining the optimal configuration for any given solar power system. Solar panel wiring, commonly referred to as stringing, involves the connection of multiple solar panels to consolidate their output and integrate it into a home’s electrical system or a battery for storage.
A solar panel wiring diagram (also known as a solar panel schematic) is a technical sketch detailing what equipment you need for a solar system as well as how everything should connect together. There’s no such thing as a single correct diagram — several wiring configurations can produce the same result.
To wire solar panels to a breaker box, follow these steps: Set up the solar panels and disconnect the breaker box from the grid. Connect the inverter to the main breaker box using draw cables. Connect the solar charge controller to the panels and verify their current output using a multimeter.