Then, disconnect the charge controller from the battery and solar panels. After that, Wait for 5-10 minutes to ensure that the remaining charge is completely discharged. Now, reconnect the solar panels and battery to the
To ensure your solar panel charge controller functions smoothly, consider the following tips: Place it in a cool, dry area to avoid overheating, which is a common cause of failure in these devices. Steer clear of locations with direct sunlight or
Navigate to the controller settings and then to "product info". Re-enable Bluetooth. Check if the controller is powered-up. Bluetooth is active as soon as the solar charger is powered-up. Check that Bluetooth is in range. In open

Solar charge controller troubleshooting usually entails checking if the solar panel and battery are correctly connected to the controller, inspecting for any signs of damage or wear and tear, and reviewing if the settings are
3. Battery Not Charging: Confirm that the battery is connected correctly and not damaged. Verify the solar panel''s voltage is within the controller''s operating range. 4. Erratic Charging Patterns:
No Solar Power Input. Secondly, the issue could also arise due to insufficiency of solar power input. The display won''t wake up if the photovoltaic panels are not capturing enough sunlight, or if there''s an issue with the wiring
Ensure that the solar panel is clean and placed correctly under direct sunlight. If the problem persists, it may be necessary to contact customer support or seek professional help. Troubleshooting Solar Charge Controller
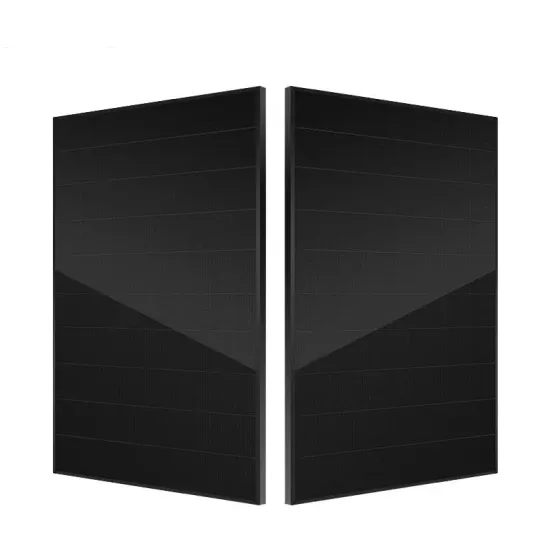
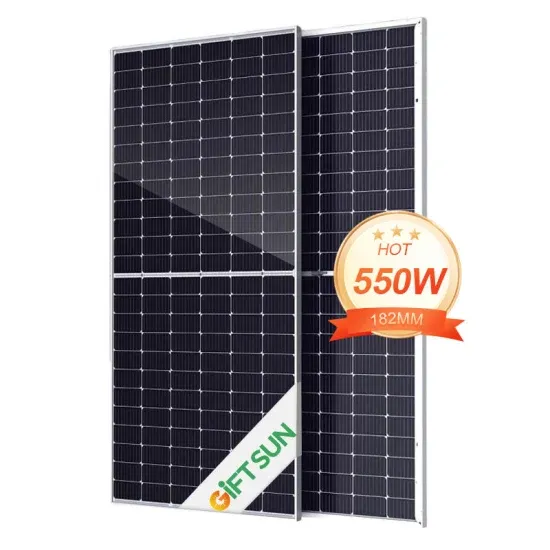
Solar panel fault-finding guide including examples and how to inspect and troubleshoot poorly performing solar systems. Common issues include solar cells shaded by dirt, leaves or mould. will already have a CT
Naked Solar''s guide to fault finding and trouble shooting common problems with solar panel systems and set ups. Naked Solar''s guide to fault finding and trouble shooting common problems with solar panel systems and set ups. UK Solar
Before you start troubleshooting your solar charge controller, it is important to know how to determine its current status. If your solar panels are not charging at all, you may need to reset the controller to its factory settings.
Solar charge controller troubleshooting usually entails checking if the solar panel and battery are correctly connected to the controller, inspecting for any signs of damage or wear and tear, and reviewing if the settings are appropriately configured.
To troubleshoot, check for shading on the panels, faulty wiring connections, or incorrect settings on the charge controller that could be causing the high voltage output. Addressing high solar panel output voltage promptly is essential to prevent potential damage to the system components and guarantee performance.
Adjust Controller Settings: Check the controller's settings and ensure they are appropriate for your specific battery's charging requirements. This includes setting the correct voltage limits and charge rates. Optimize Solar Panel Placement: Reassess the orientation and tilt of your solar panels.
This issue may stem from a malfunction in the MPPT solar charge controller or the solar panels themselves. To troubleshoot, check for shading on the panels, faulty wiring connections, or incorrect settings on the charge controller that could be causing the high voltage output.
Reset the Controller: Sometimes, simply resetting the controller can resolve the issue. Disconnect the controller from both the battery and the solar panels, wait a few minutes, then reconnect, starting with the battery first and then the solar panels. 3.
Now that we’ve identified some common problems let’s step into the realm of solar charge controller repair. You can reset many solar controllers by disconnecting it from both the solar panels and the batteries, then reconnecting the batteries first and the panels second.