Number of pieces: Three to eleven based on configuration. Tools needed: Six Certifications: UL 2703,441, ICC ESR 3575, TAS 100, ASTM 2140,1970, HVHZ Certified Installation: The RT-APEX fastens to rafters or
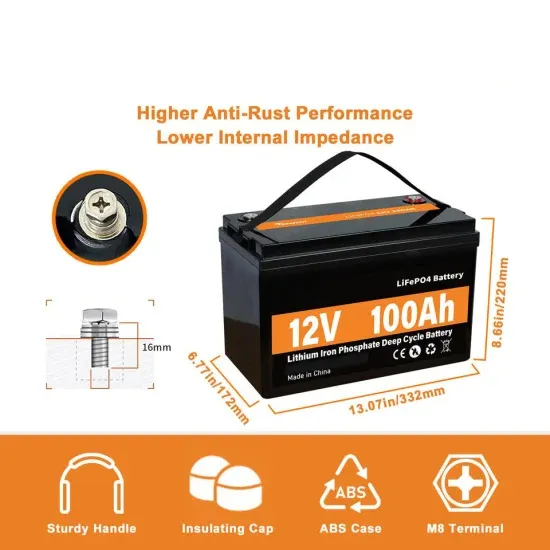
Loosen the fuse holder''s screws with a Phillips screwdriver, insert the crimped cable''s copper core into the bottom of the fuse holder, and tighten the screws to a torque of 2.3Nm. Tighten the cable gland nuts. Note:
Use of the above brackets depends on the orientation of your unistrut. If the unistrut is running perpendicular to the solar panel then the most likely way to use these brackets would be on the top and bottom rails of the
Bracket Positioning – Another important part of the solar panel fixing layout is to understand where to affix the brackets from top to bottom along the rafters. This again changes, dependent on the physical dimensions of the
Marking the Spot: The locations for the screws are marked based on the site analysis. Driving the Screw: Specialized machinery is used to drive the screws into the ground. Mounting the Panels: Once the screws are